Have you ever found yourself confused by the vast array of masking tape options available? The world of painter’s tape can be daunting, especially when trying to determine which types are best suited for specific tasks. In this article, we’re diving deep into specialty applications of painter’s tape, highlighting the significance of color coding, effective drywall repairs, and expert techniques for masking cabinets. Let’s equip you with the knowledge to elevate your painting projects and achieve professional results!
What’s the Difference Between Performance Masking Tape Colors?
Understanding the Impact of Color in Tape Selection
From the environment to product design, colors influence our emotions and behaviors daily. In professional trades, color-coding systems are not just for aesthetics; they significantly enhance efficiency, safety, and communication. For instance, electricians use colors to navigate wiring circuits, while plumbers employ them to label pipes properly. In the painting and coating industry, masking tape color-coding plays a crucial role too.
When browsing the market for performance masking tapes—whether for vehicle coating or residential projects—color serves as a powerful visual cue. Different colors of painter’s tape indicate various temperature ratings and performance attributes. However, this system can be confusing due to the lack of a universal standard. For example, a specific color from one manufacturer may indicate a high-temperature tolerance, while the same color from another may represent a low threshold.
Performance Attributes and Temperature Ratings
Understanding the color-coding in masking tapes is essential. Generally, the color of the tape corresponds to its temperature ratings, which are categorized as low, medium, and high. Here are some common tape colors and their meanings in various contexts:
Blue Painter’s Tape: Often used for standard painting tasks, it typically withstands medium temperatures.
Green Painter’s Tape: Designed for high temperature range, commonly used in industrial applications.
Yellow and Tan Tapes: Frequently indicate low-temperature usage, suited for quick applications or delicate surfaces.
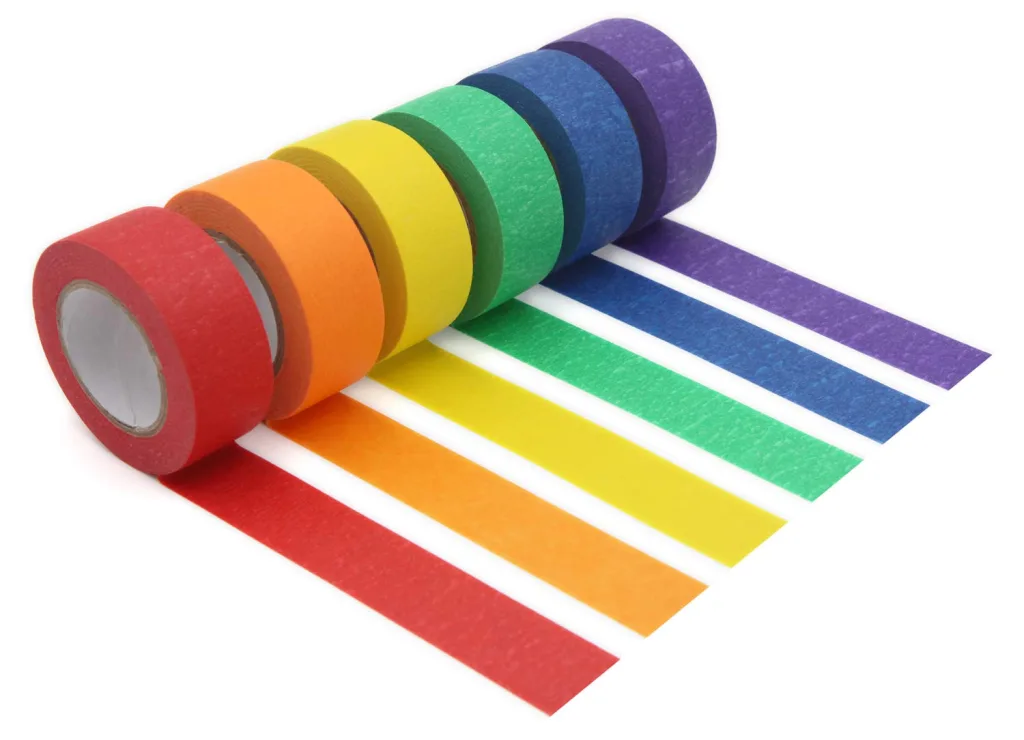
Importantly, some brands also label their tapes with numbers that indicate specific temperature tolerances or serve as internal product references. It’s crucial to familiarize yourself with the offerings from each manufacturer to avoid errors in application.
For example, while blue tape is known for its versatility, the exact rating can vary between brands. Always refer to technical data sheets or consult with manufacturers for accurate information. This knowledge will make it easier to grab the right tape at a glance, ensuring you choose the best product for your needs.
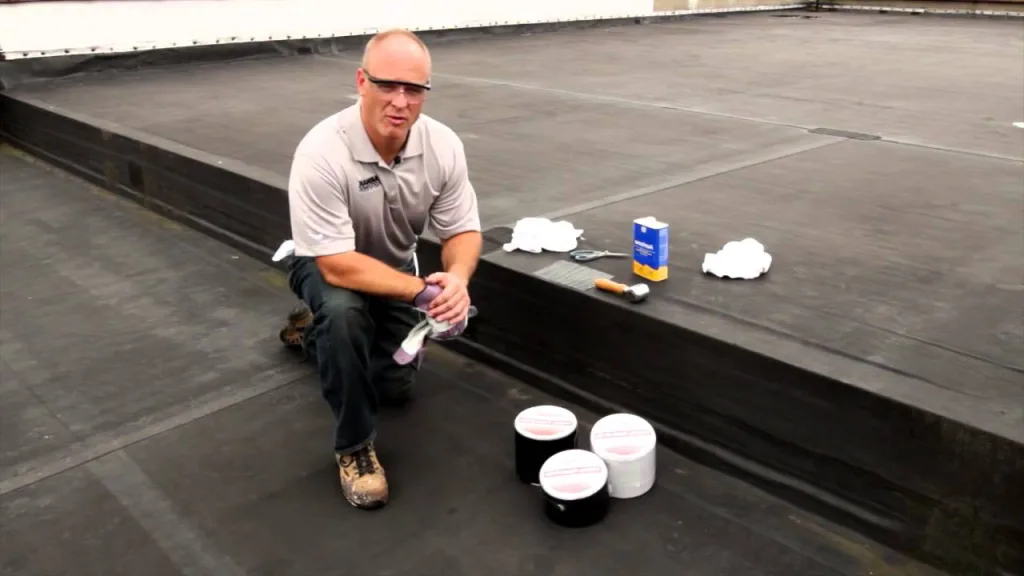
How to Repair Four Common Drywall Issues
Preparing Drywall for a Smooth Finish
Drywall is a primary material used in American homes, making it essential to address common imperfections before painting. You will likely encounter nail pops, dents, holes, and cracks during repaint jobs. Properly repairing these issues will give you a smooth surface for an impeccable paint job.
Nail Pops
Nail pops occur for various reasons, such as misaligned framing or temperature changes. It’s vital to address them before painting. If a nail head has worked loose, do not just hammer it back in. Instead, remove the nail completely and replace it with a drywall screw for a more durable fix.
Once secured, lightly sand the area around the screw to create a smooth surface. Fill the depression with drywall compound using a standard six-inch knife. Allow it to dry completely, sand again, and apply a second coat if necessary. Once the second coat is dry, sand once more before priming and painting.
Filling in Small Dents
Every home features minor dents and dings from daily wear and tear. For shallow dents, a fast-drying one-coat patch can work wonders. Sand the edges of the dent to remove any roughness, then use a small one-inch knife to apply a lightweight patch. If the area looks even after drying, you’re ready to prime and paint. If not, apply another coat of patch as needed, following the same process.
Patching Holes
Drywall patching solutions have improved remarkably. For holes up to two inches in diameter, utilize a self-adhesive aluminum-reinforced patch. After sanding the hole’s edges, peel the backing off the patch and center it over the hole, pressing down to adhere. Apply a heavy coat of drywall compound with a six-inch knife to fill in the mesh. Once dry, sand lightly and apply a second coat. Repeat this process until smooth.
Sealing Cracks
When sealing cracks, remember never to fill a crack solely with mud, as it will reappear when it dries. Instead, employ a self-adhesive fiberglass mesh tape. This type of tape is strong yet thin, requiring less mud for a smooth finish. Affix a piece of tape over the crack, apply a layer of drywall compound, and ensure it fills the mesh. Allow it to dry, lightly sand, and repeat for additional coats until you achieve the desired smoothness before priming and painting.
Preparation is key for successful painting, and taking the time to address these drywall issues will set you up for success.
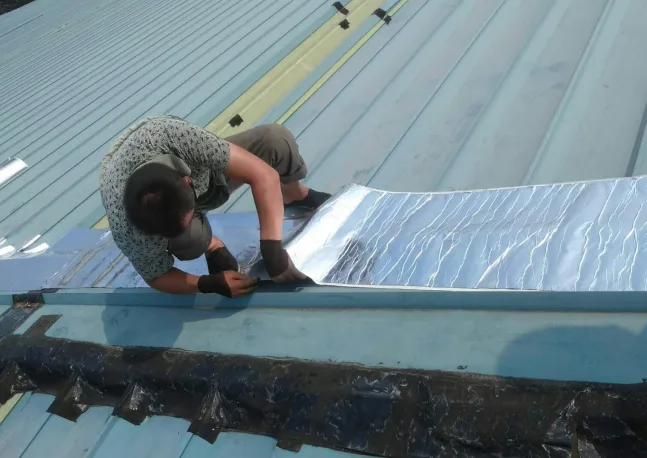
Masking Cabinets
Preparation for Cabinet Painting
Properly masking cabinets is essential for achieving crisp lines and a professional finish. Whether you’re painting kitchen cabinets or updating bathroom vanities, the right masking technique is critical.
First, thoroughly clean the cabinets to remove any grease or dirt; this ensures effective adhesion of the painter’s tape. Next, remove any hardware, such as knobs and handles. If removing hardware is impractical, ensure they are masked expertly.
Techniques for Effective Masking
To mask the cabinets correctly, start by applying wide strips of painter’s tape along the edges where you want to create a boundary. Make sure to press the tape firmly to avoid any paint bleed underneath. For joints and corners, use smaller pieces of tape to create precise lines around the intricate areas.
For added protection, consider using a drop cloth or plastic sheeting on the surrounding areas to catch any overspray or spills. A steady hand and a sharp utility knife will help you achieve a flawless finish by trimming excess tape or ensuring that edges remain crisp as you paint.
Related article: Specialty application of painter’s tape.
4 Secret Tips to Paint Stucco
Know Your Stucco
Before you start painting stucco, understand the texture. Stucco is a rough and porous surface, requiring specific preparation and techniques.
Prime Before Painting
Always use a primer specifically formulated for stucco. This step ensures even coverage and enhances the adhesion of the paint.
Use a Heavy Nap Roller
For stucco surfaces, a heavy nap roller is ideal. The thicker roller covers will penetrate the texture better, ensuring you achieve an even coat.
Apply Multiple Coats
Don’t be afraid to apply several coats. Stucco often requires more than one application for a vibrant finish, especially if you’re shifting colors dramatically.
Conclusion
In wrapping up, painter’s tape is an invaluable tool, particularly when considering its specialty applications. Whether it’s understanding the significance of color-coding in performance masking tapes, mastering drywall repairs, or effectively masking cabinets, these insights will undoubtedly enhance your painting endeavors. At Fonitaniya Tape Companies, we have dedicated over 15 years to providing adhesive solutions, continually innovating our painter’s tape and masking tape to deliver unparalleled quality. Elevate your projects with our exceptional products and enjoy the superior results they bring!
FAQs
How can I choose the right masking tape for my project?
Look for specific features such as temperature ratings, adhesive strength, and application suitability.
Is painter’s tape better than regular masking tape?
Yes, painter’s tape is designed for easy removal and clean edges, making it ideal for painting projects.
Can I use masking tape on delicate surfaces?
It’s best to use painter’s tape on delicate surfaces to prevent damage during removal.
What should I do if masking tape leaves residue behind?
Remove the tape while the paint is still wet to minimize the risk of sticky residue.
How do I achieve clean lines when painting?
Always apply painter’s tape carefully and remove it while the paint is still wet for the best results.