Have you ever found yourself frustrated with messy paint lines, despite your best intentions? Understanding how to properly use painter’s tape can be the game changer in achieving the sleek, professional finish you desire for your painting project. In this article, we’ll delve into essential practices for applying and removing masking tape, the science behind choosing the right tape, and tips for preparing your workspace. Let’s transform your painting experience from chaotic to seamless!
How Do I Apply and Remove Masking Tape?
Step 1: Prepare Your Surface
Begin by ensuring your surfaces are dust and debris-free. Even the smallest particles can impede the tape’s ability to bond effectively, leading to those dreaded messy lines. This step is crucial for achieving a flawless finish.
Step 2: Position the Tape
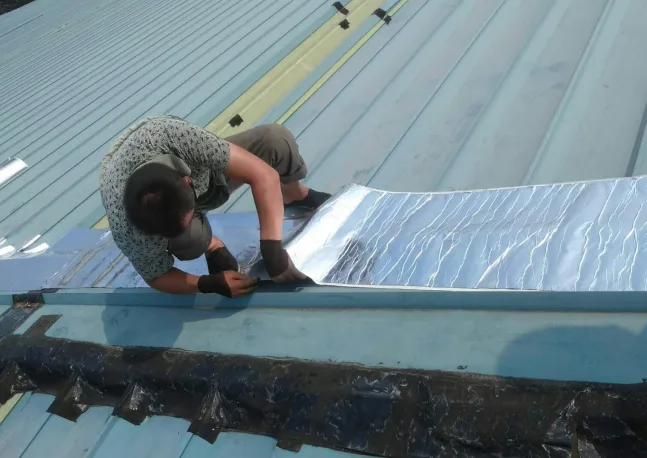
Next, keep the tape roll flat against the wall, only covering the trim. For less experienced painters, pulling off the tape in shorter sections can help maintain a straight line and prevent stretching, which can compromise adhesion.
Step 3: Seal the Edges
To eliminate gaps between the surface and tape, rub a firm, plastic tool or credit card against the tape, a technique known as “burnishing.” This step ensures a stronger bond, preventing paint seepage.
Step 4: Remove the Tape
When it’s time to remove the tape, pull it back slowly at a 45-degree angle. This angle helps maintain the integrity of the paint lines. If you hear tearing noises, you may be pulling the tape too quickly. Be particularly cautious if the paint has bonded with the tape; use a razor blade to gently break the seal before removal to prevent any paint from coming off with it.

Blue Painter’s Tape vs. Beige Masking Tape
Both blue painter’s tape and beige masking tape are essential tools in any industrial environment, but they serve different purposes. Blue painter’s tape is ideal for painting and can be repositioned easily, whereas beige masking tape provides a firmer hold but isn’t suitable for painting applications.
All tapes consist of a paper backing, adhesive, and a release coat. The quality of these components directly impacts performance, particularly the adhesive.
Choosing the Right Tape with the Right Adhesive
Selecting the appropriate tape is crucial for the success of your project, especially in specialized applications like boat building. Low surface energy (LSE) materials, such as Teflon and polyethylene, can pose a challenge when adhering. Picking a tape that works in LSE scenarios can fundamentally affect the outcome of your paint job.
Wondering which tape is best? Look for performance masking tapes engineered to sticker strongly in LSE applications, conform to irregular surfaces, and withstand extreme conditions like heat and weather. Remember, the right tape is pivotal for achieving precise, clean results.
Tack
Tack measures how quickly the adhesive bonds to the surface. Painter’s tape typically features lower tack for easy repositioning without surface damage. This characteristic makes painter’s tape advantageous for painting projects.
Bond
Bond refers to the strength of the adhesive’s hold on the surface over time. For applications requiring a stronger hold—like labeling or bundling—beige masking tape is preferable. In contrast, painter’s tape is meant for temporary use and easy removal.
Temperature Range
Painter’s and general-purpose masking tapes usually perform well within 50°F to 200°F. High-performance masking tapes, necessary for industrial tasks, can withstand up to 350°F. Knowing the temperature requirements of your environment is key to selecting the right tape.
UV Resistance
Some tapes use rubber adhesives that can degrade under UV exposure, leading to failure. When selecting masking or painter’s tape for outdoor projects, ensure it has UV resistance additives. That way, you can support longer-lasting results.
Clean Removal
No one wants to deal with sticky messes when tapes come off. It’s crucial to choose painter’s tape for painting tasks and masking tape for other binding and holding duties. Each tape has a specific clean removal time, so always refer to the manufacturer’s guidelines.
How to Prep a Room to Apply Painter’s Tape
Preparation is one of the most vital steps in the painting process, yet it’s often overlooked. Properly prepping your room can prevent mishaps, streamline your work, and safeguard against damage.
Clear away any clutter in your painting area, including furniture, electric sockets, and light covers. This ensures that nothing obstructs your work. Additionally, gather all necessary tools beforehand to avoid frantic searches mid-project. Cleaning and preparing your wall surfaces ahead of time will also contribute to better adhesion and a more professional outcome.
Related article: Selecting masking tape for paint jobs.
Conclusion
In conclusion, applying painter’s tape effectively and understanding your material choices can greatly enhance the success of your painting projects. Take time to prepare properly, utilize the correct tape, and follow best practices for application and removal. At Fonitaniya Adhesive Company, we have been at the forefront of adhesive solutions for over 15 years, specializing in innovative painter’s tape and masking tape designed to empower your creative projects. Whether for industrial applications or simple home improvements, our products ensure you achieve the high-quality finishes you desire.
FAQs
What type of tape is best for painting?
Painter’s tape is designed for achieving clean lines and easy removal without damage.
How do I remove painter’s tape without damaging paint?
Gently pull back the tape at a 45-degree angle and use a razor blade to break any bond.
Can I use masking tape instead of painter’s tape?
Masking tape is not ideal for painting jobs; it may damage surfaces upon removal.
Does painter’s tape need to be applied on a clean surface?
Yes, it’s essential to ensure surfaces are clean and free from dust for proper adhesion.
What is the difference between blue painter’s tape and masking tape?
Blue painter’s tape is specifically made for easy removal and clean lines, while masking tape offers a firmer hold.